Learning how to make cannabis shatter at home is actually pretty easy when you have the right supplies. While I have read a lot of other articles on how to make cannabis concentrates at home I found that using the Peak Supply Co Alchemy Shatter Kit and Alcohol makes the process extremely easy and smooth not to mention we’ve made this great video that will show you how to make wax, extracted with Alcohol, from the comfort of your home.
How do you extract Cannabinoids with Alcohol and how does cannabis extraction work?
While there are many ways to extract Cannabinoids from Cannabis most require some moderate to serious scientific extraction equipment or are fairly dangerous and should not be tried at home. There are a couple low-tech options like using bubble bags to make hash and ice wax or heat and pressure to make rosin. Alcohol extraction on the other hand is simple, quick and with the right precautions, is very safe. So how does Alcohol Extraction work? Well to sum it up, Alcohol is a solvent, which means it can dissolve other substances, and in this case, we are talking about cannabinoids. The process is fairly straight forward: mix alcohol with your cannabis, drain it, evaporate the alcohol and boom, you are left with a potent cannabis concentrate that can be used for anything from making vape cartridges to edibles, or you can smoke it as is.
NOTE: Not all alcohols are appropriate for Extraction. Rubbing Alcohol should never be used and it is very important that you have a high percentage Alcohol. You can use as low as 75% but I would recommend using 90% or more for the best extraction experience.
What can you do with the Cannabis shatter made at home?
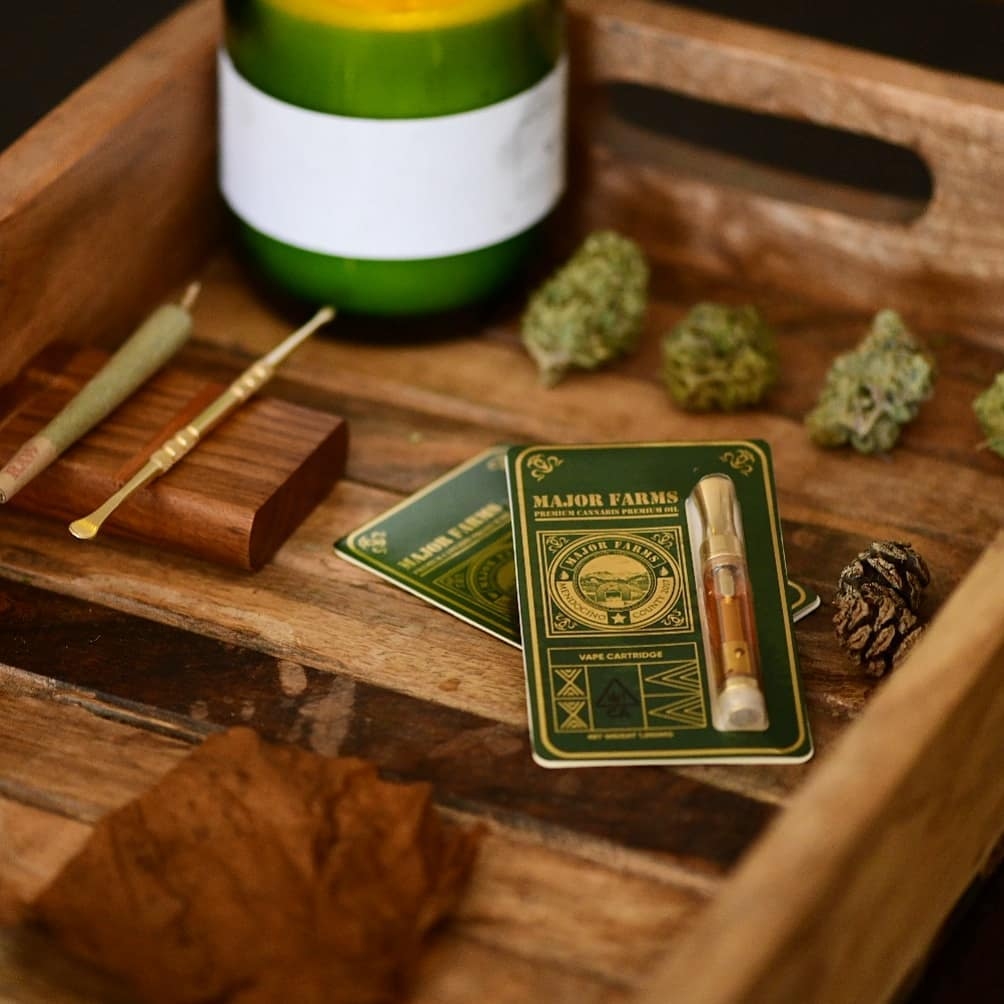
Learning how to make shatter from home opens up a world of possibilities. You can infuse the shatter in a tincture, edibles, or put it in a vape cartridge for a discrete travel-ready way to enjoy your wax. You can even re-infuse terpenes into it and dab it as is. I found using real cannabis terpenes turns your shatter up a few notches and could even rival the shatter I’ve purchased from dispensaries. While real Cannabis terpenes are extremely rare and a little pricy it produces a far superior product and can also be purchased from Peak Supply Co, you just have to email them because they do not offer it on their website. While infusing your shatter into a tincture and edibles is easy, there are easier ways to accomplish something similar. In my experience, the main benefit of using shatter in an edible is you have more control over the potency and the resulting product tastes less “weedy” because there will be less plant matter than say, a cannabutter. My personal favorite way to use my homemade shatter is making it into a vape cartridge and for that reason, we will be focusing on the main uses for the Peak Supply Co Alchemy Shatter kit.
CLICK HERE TO PURCHASE THE KIT OR OTHER SUPPLIES WE USED IN THIS VIDEO

How to Make Shatter at home Step-by-Step
Shatter Making Supplies:
- Terpenes
- 99% Isopropyl Alcohol
- Mason Jar
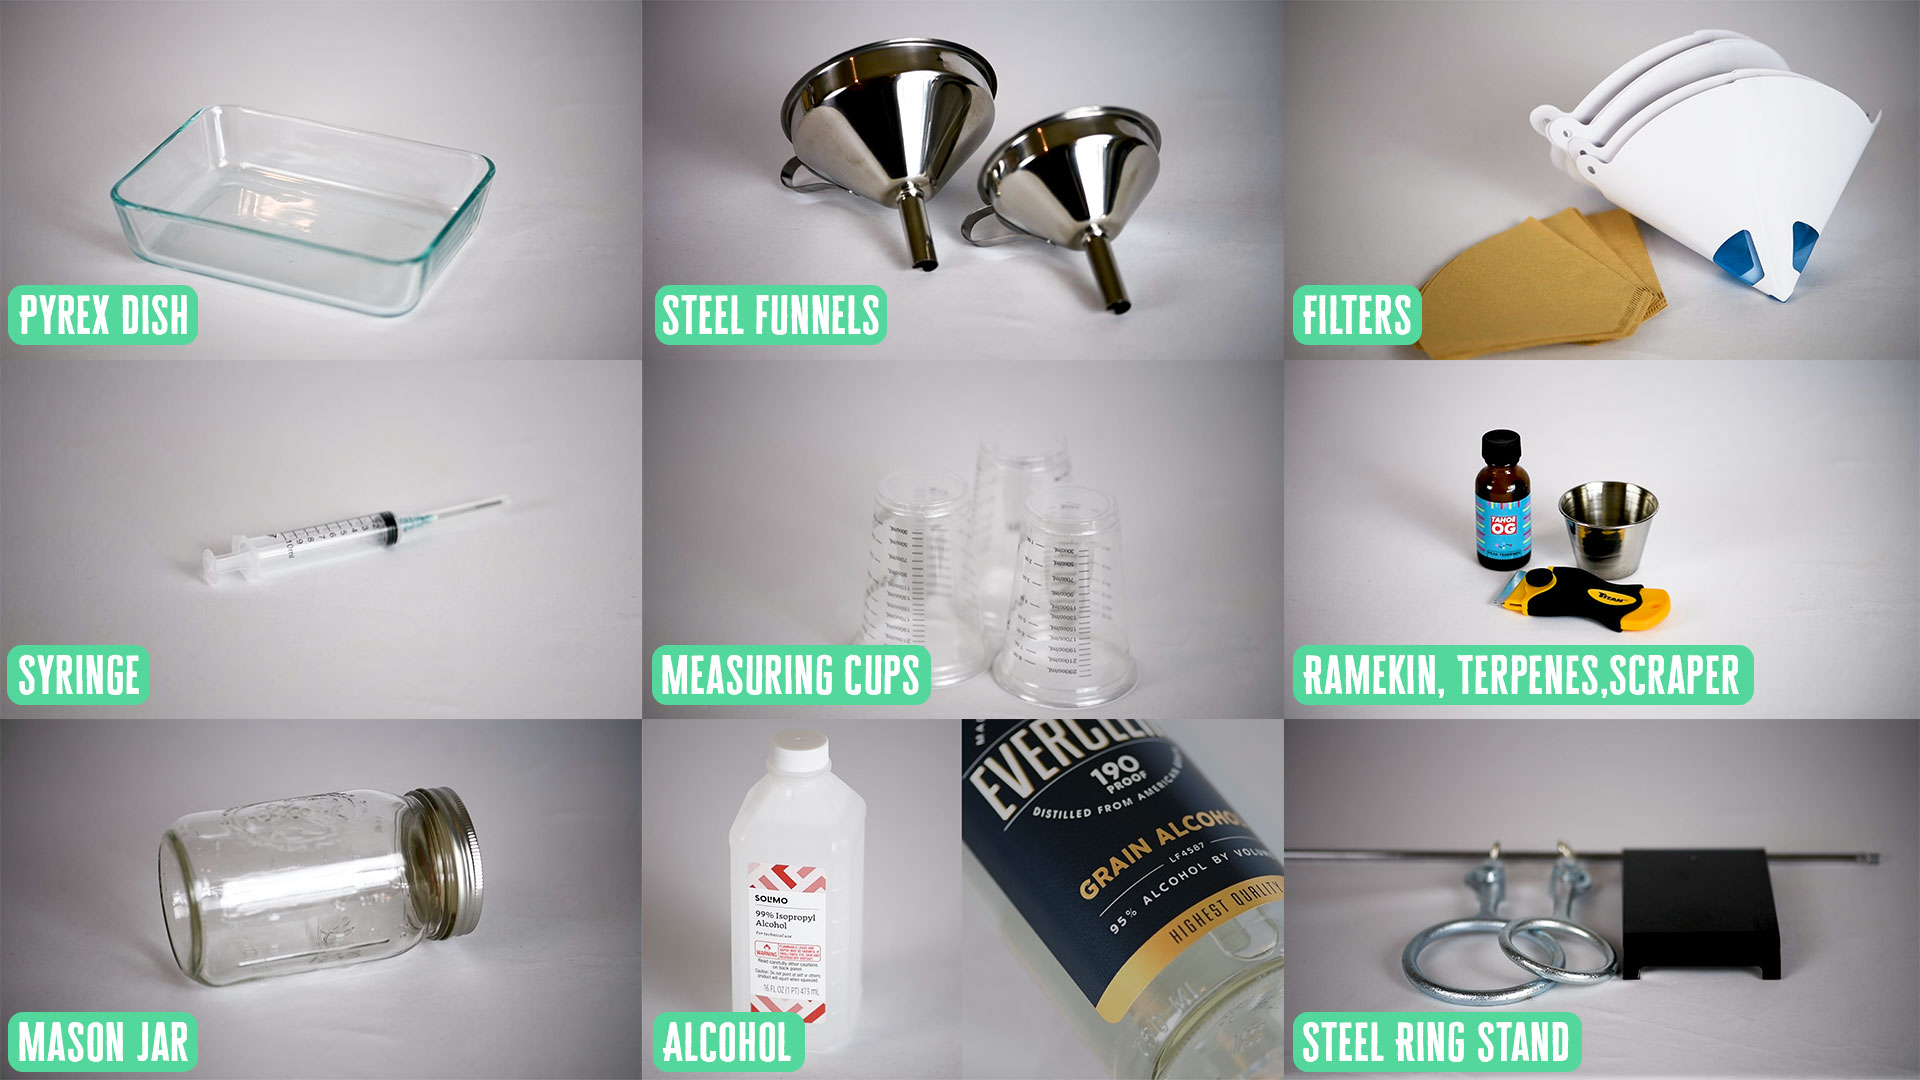
- Stainless Steel Funnel 2x
- Funnel Stand
- Pyrex Dish
- Shatter Scraper
- Stainless Steel Mixing Ramekin
- Mixing Cups
- 15 Gauge 10ml Syringe
- 3ml Pipettes
- 90u Filter
- 20u Filter
- Latex Gloves
- Parchment Paper
CLICK HERE TO BUY THE KIT WITH ALL THE ABOVE SUPPLIES
OTHER SUPPLIES YOU WILL NEED
-Cannabis – Buds or Shake
The Kit comes with an 8oz of Isopropyl Alcohol. You can buy more from the Peak Supply Co’s website if you need larger amounts but you can also buy 99% Isopropyl Alcohol from most drug store/grocery stores. DO NOT BUY AND USE RUBBING ALCOHOL! Rubbing alcohol often contains other ingredients that should NEVER be consumed or used for extraction. If you cannot find 99% Isopropyl Alcohol near you, you can buy 190 proof Grain Alcohol online quick and easy by clicking HERE like we did. Shipping was surprisingly fast, we got our Everclear in about 3 days.
Shatter Making Instructions:
Step 1.)
Gather up your supplies, set up your funnel stand, and fill your mason jar with the herb. We used 1.5 ounces of shake but you can use less or more.
Step 2.)
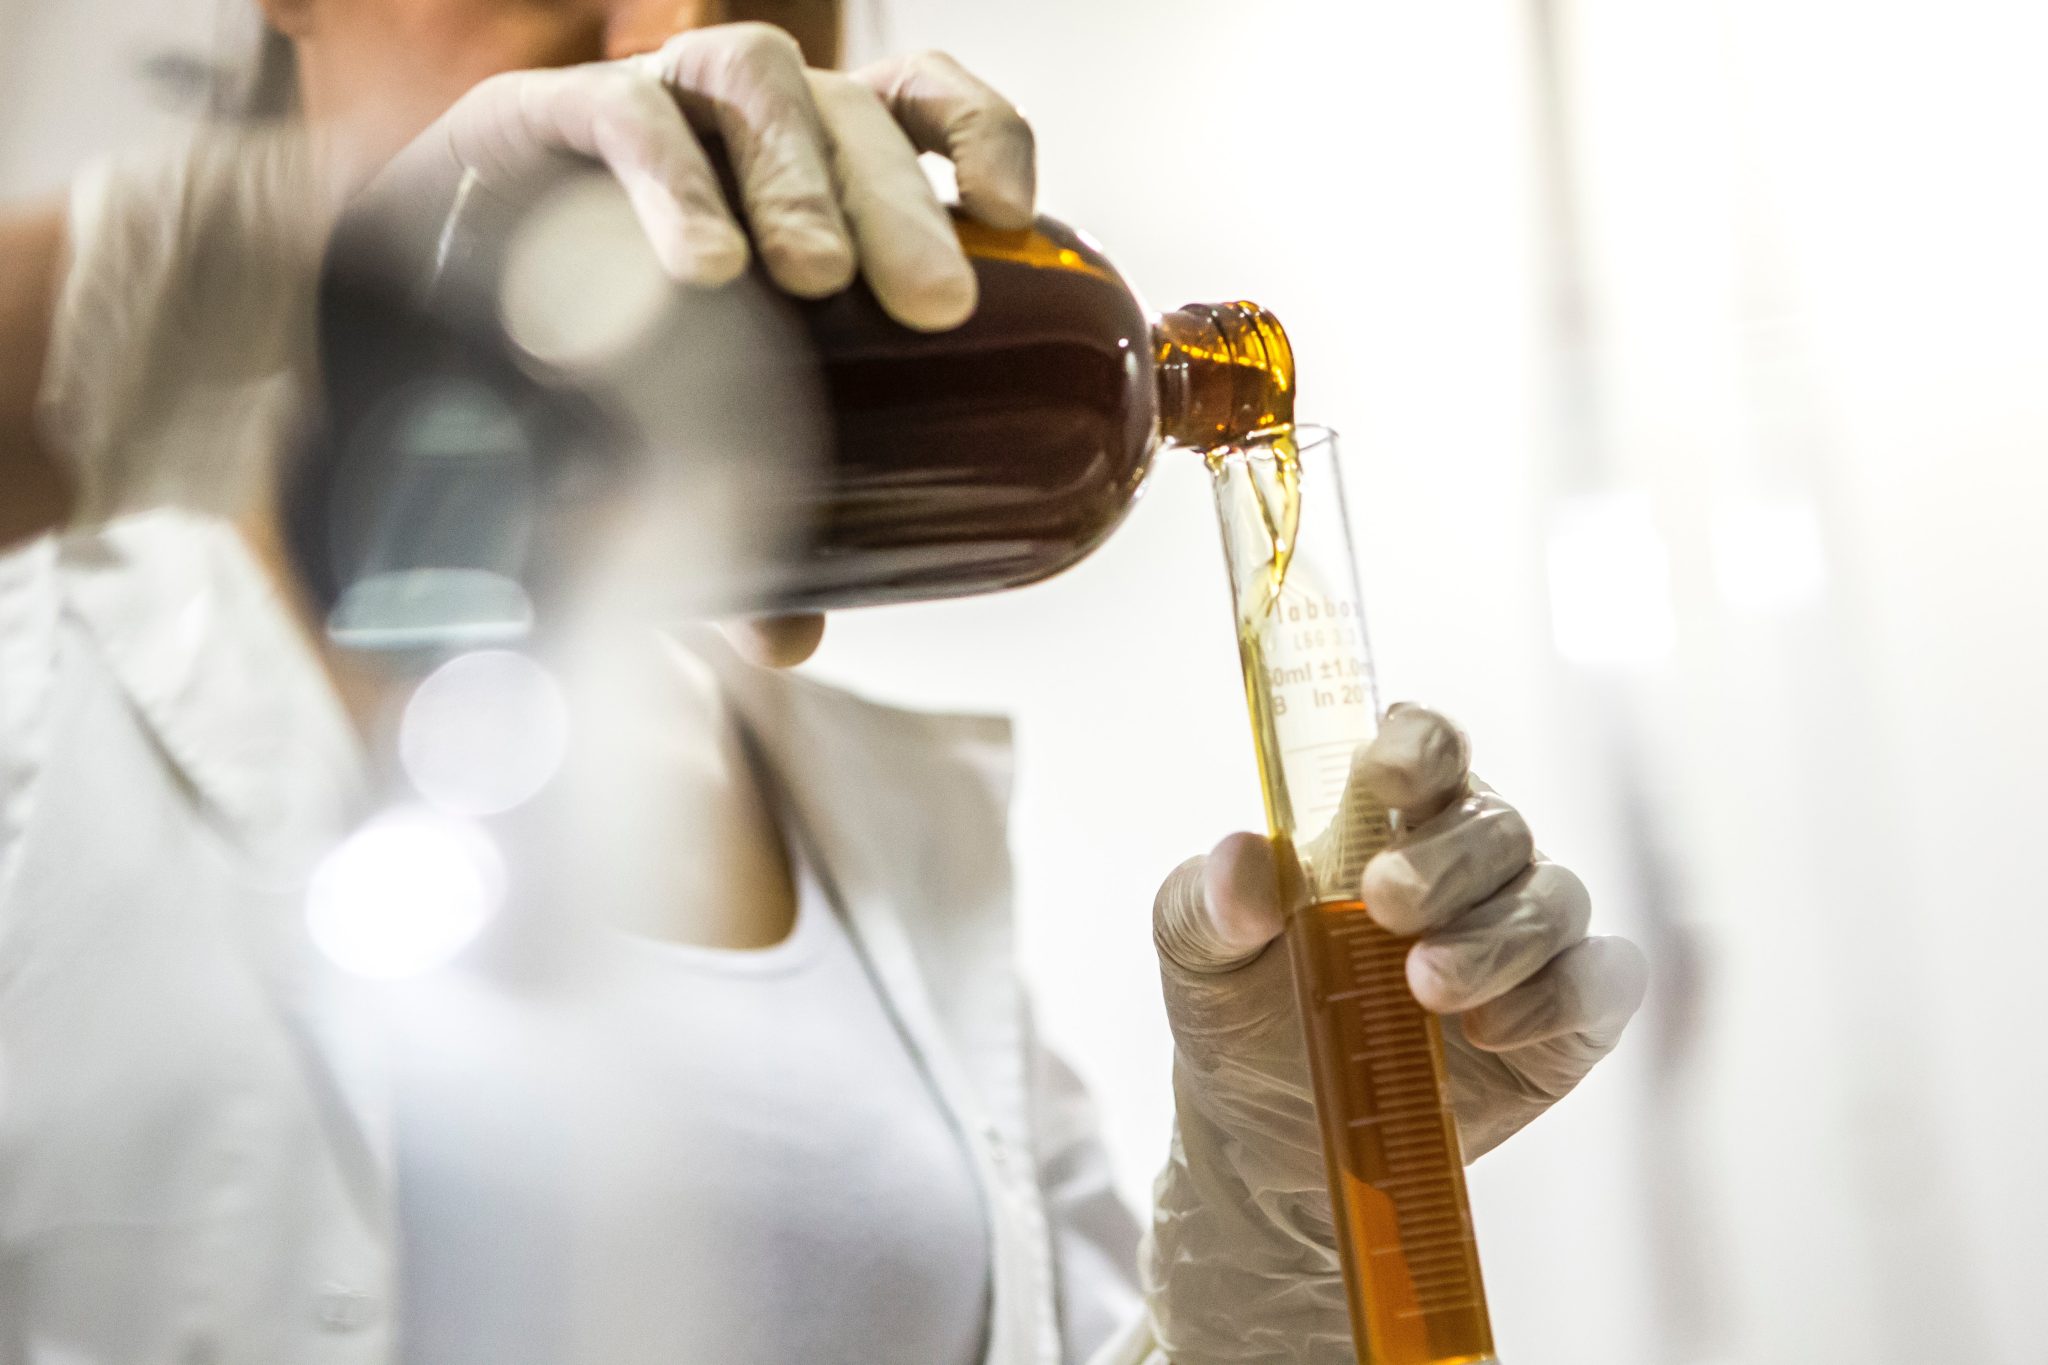
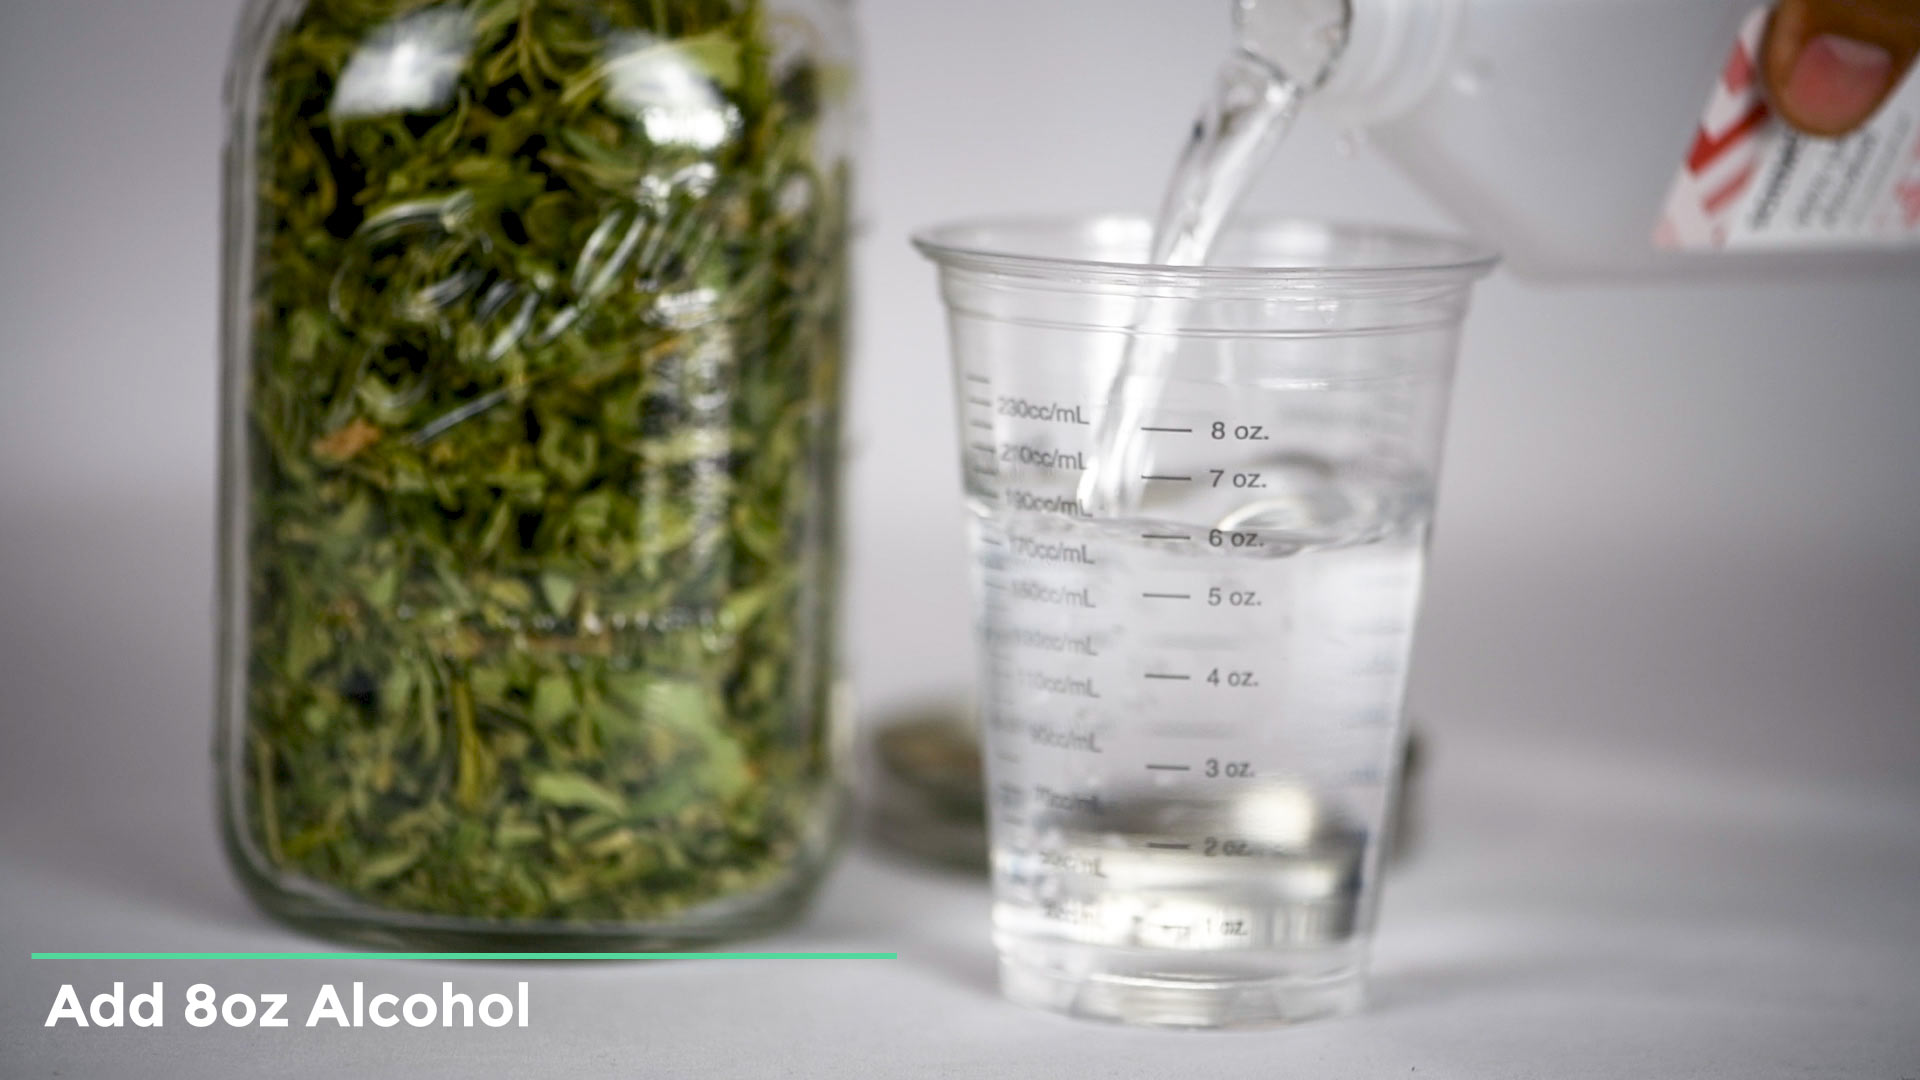
Pour 8oz of Isopropyl Alcohol into your Mason jar. You can also use 190 proof grain alcohol. If you prefer to use Grain Alcohol you can buy 190 Proof grain alcohol online and have it shipped to your door by clicking HERE. If you are using less herb than we did, you will need to use less alcohol. Remember, you want to use just enough to be able to wash all of the plant material not enough to drown it in liquid. Also using less Alcohol will mean you will have less time spent on the evaporation process in this shatter tutorial.
Step 3.)
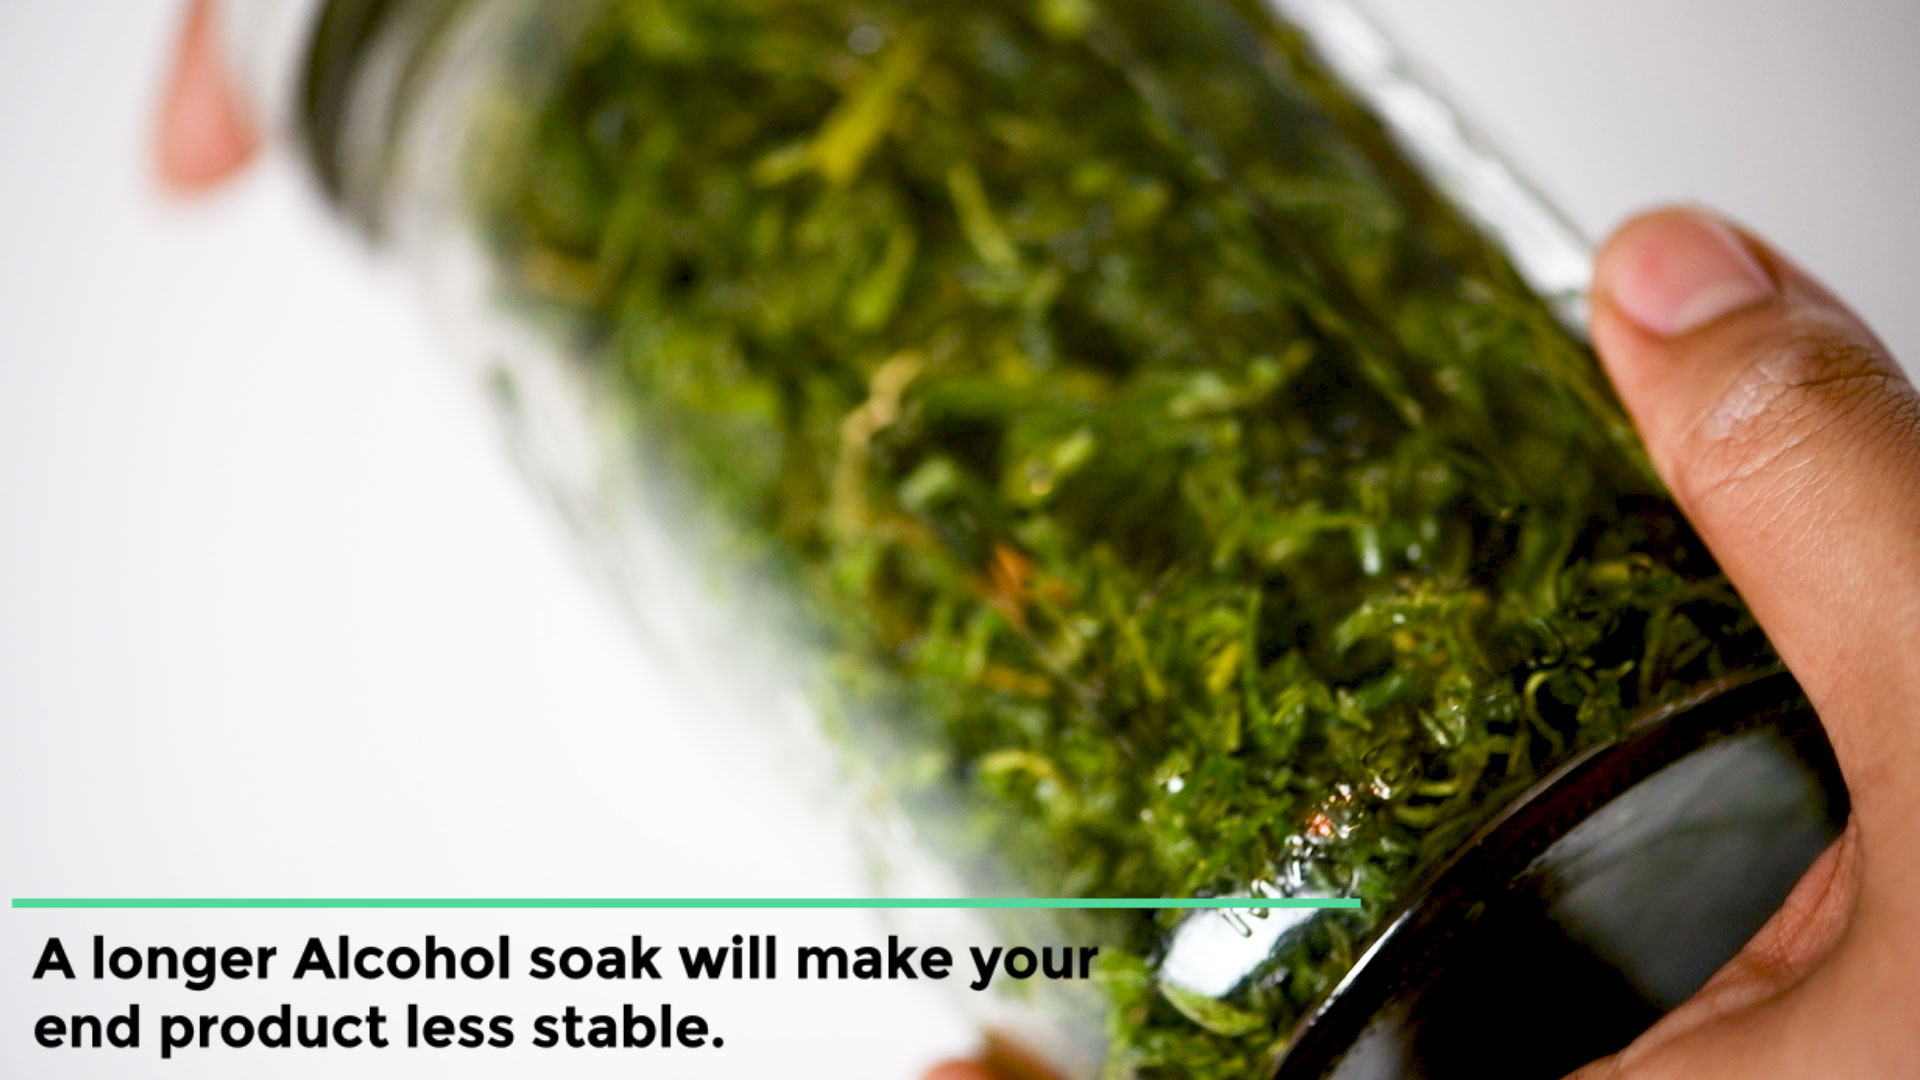
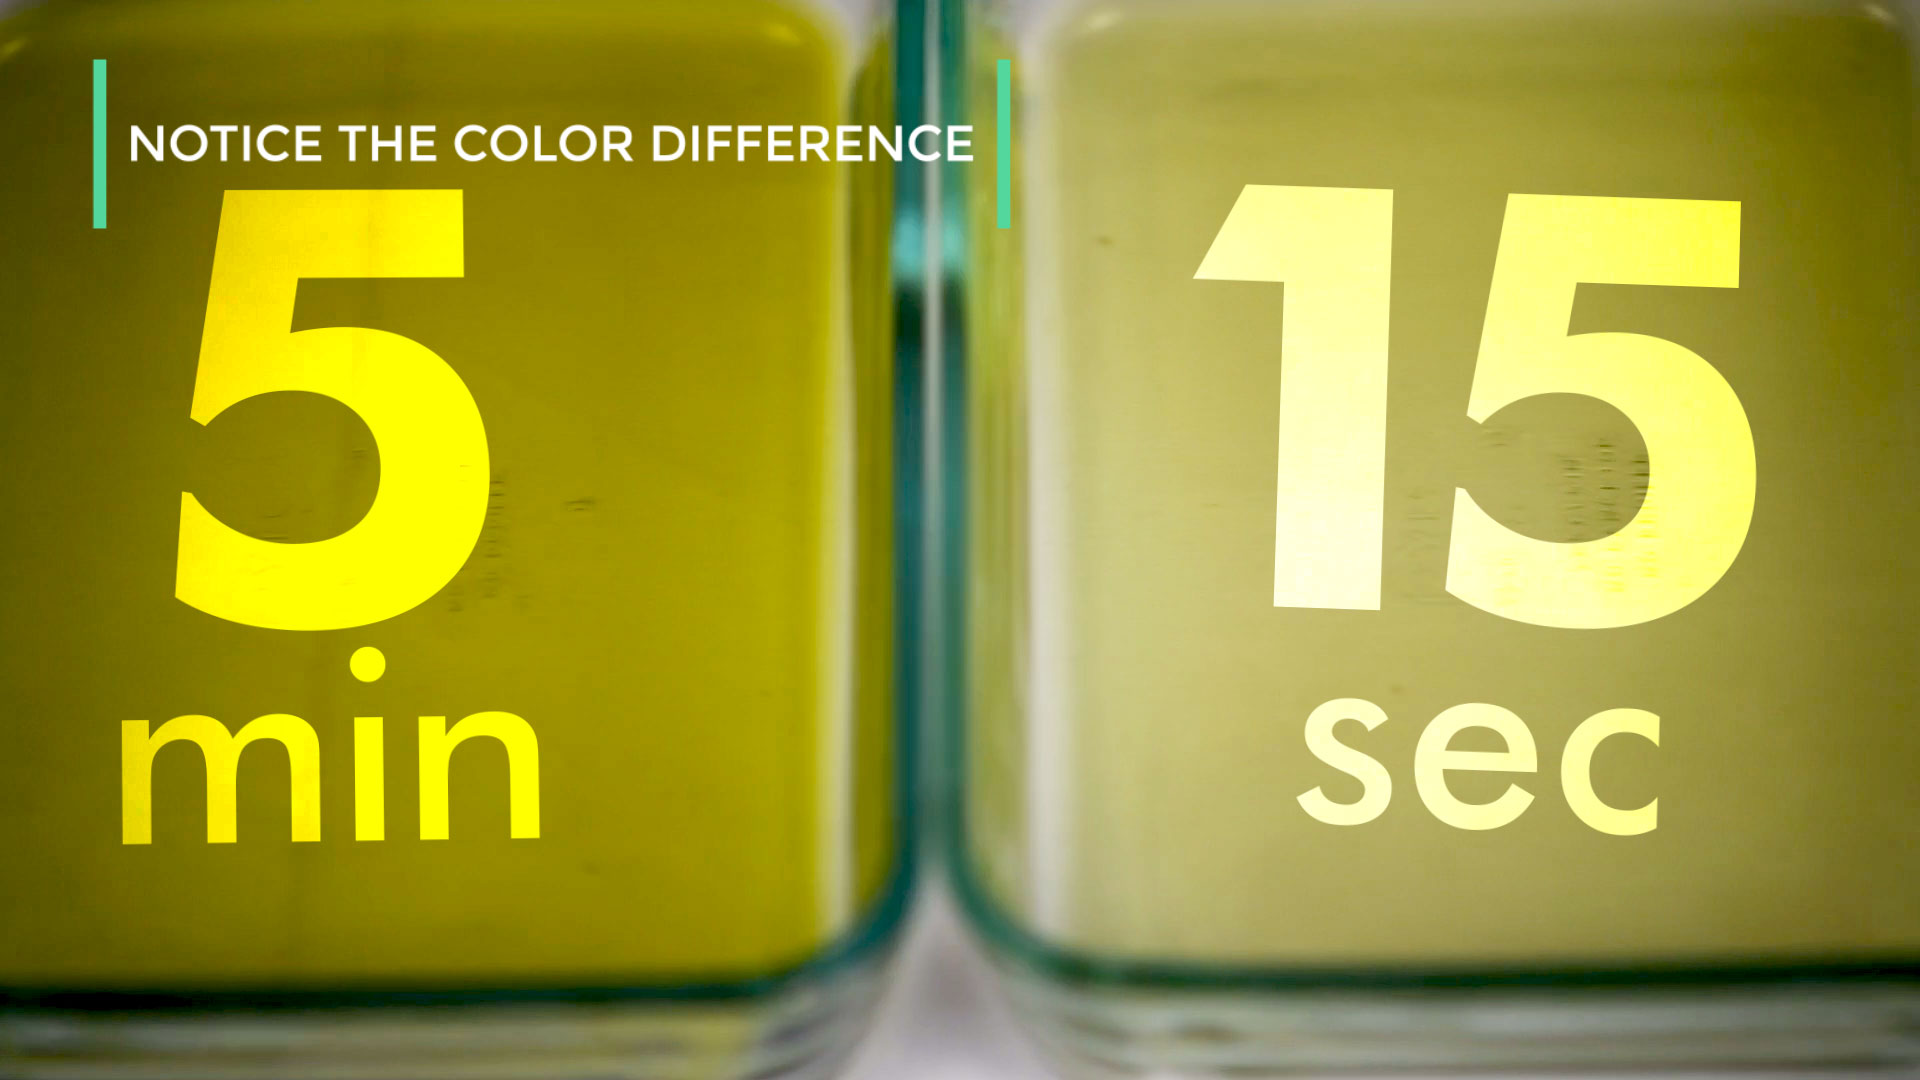
Seal your jar and gently roll the jar for 15 seconds so all of the bud gets soaked. 15 seconds is just long enough to extract the THC and some other cannabinoids. You will have a lower yield with a quick wash but ultimately a much more superior extract. Being gentle during this step will mean less plant material breaks off and ultimately means you will have a lighter color cannabis concentrate. We prefer the quick soak method of 15 seconds but you can also do it for a longer period of time or let it soak overnight. Experiment with what you prefer and see what works best. Just remember, the longer you let it soak the darker your extract will be as more chlorophyll will and other cannabinoids will be extracted. This can give you more of a “full-spectrum” extract but will it will also be a darker and will be a less stable extract. When an extract is less stable it will not be hard and able to be “shattered” like glass. This is actually where shatter gets its name.
Step 4.)
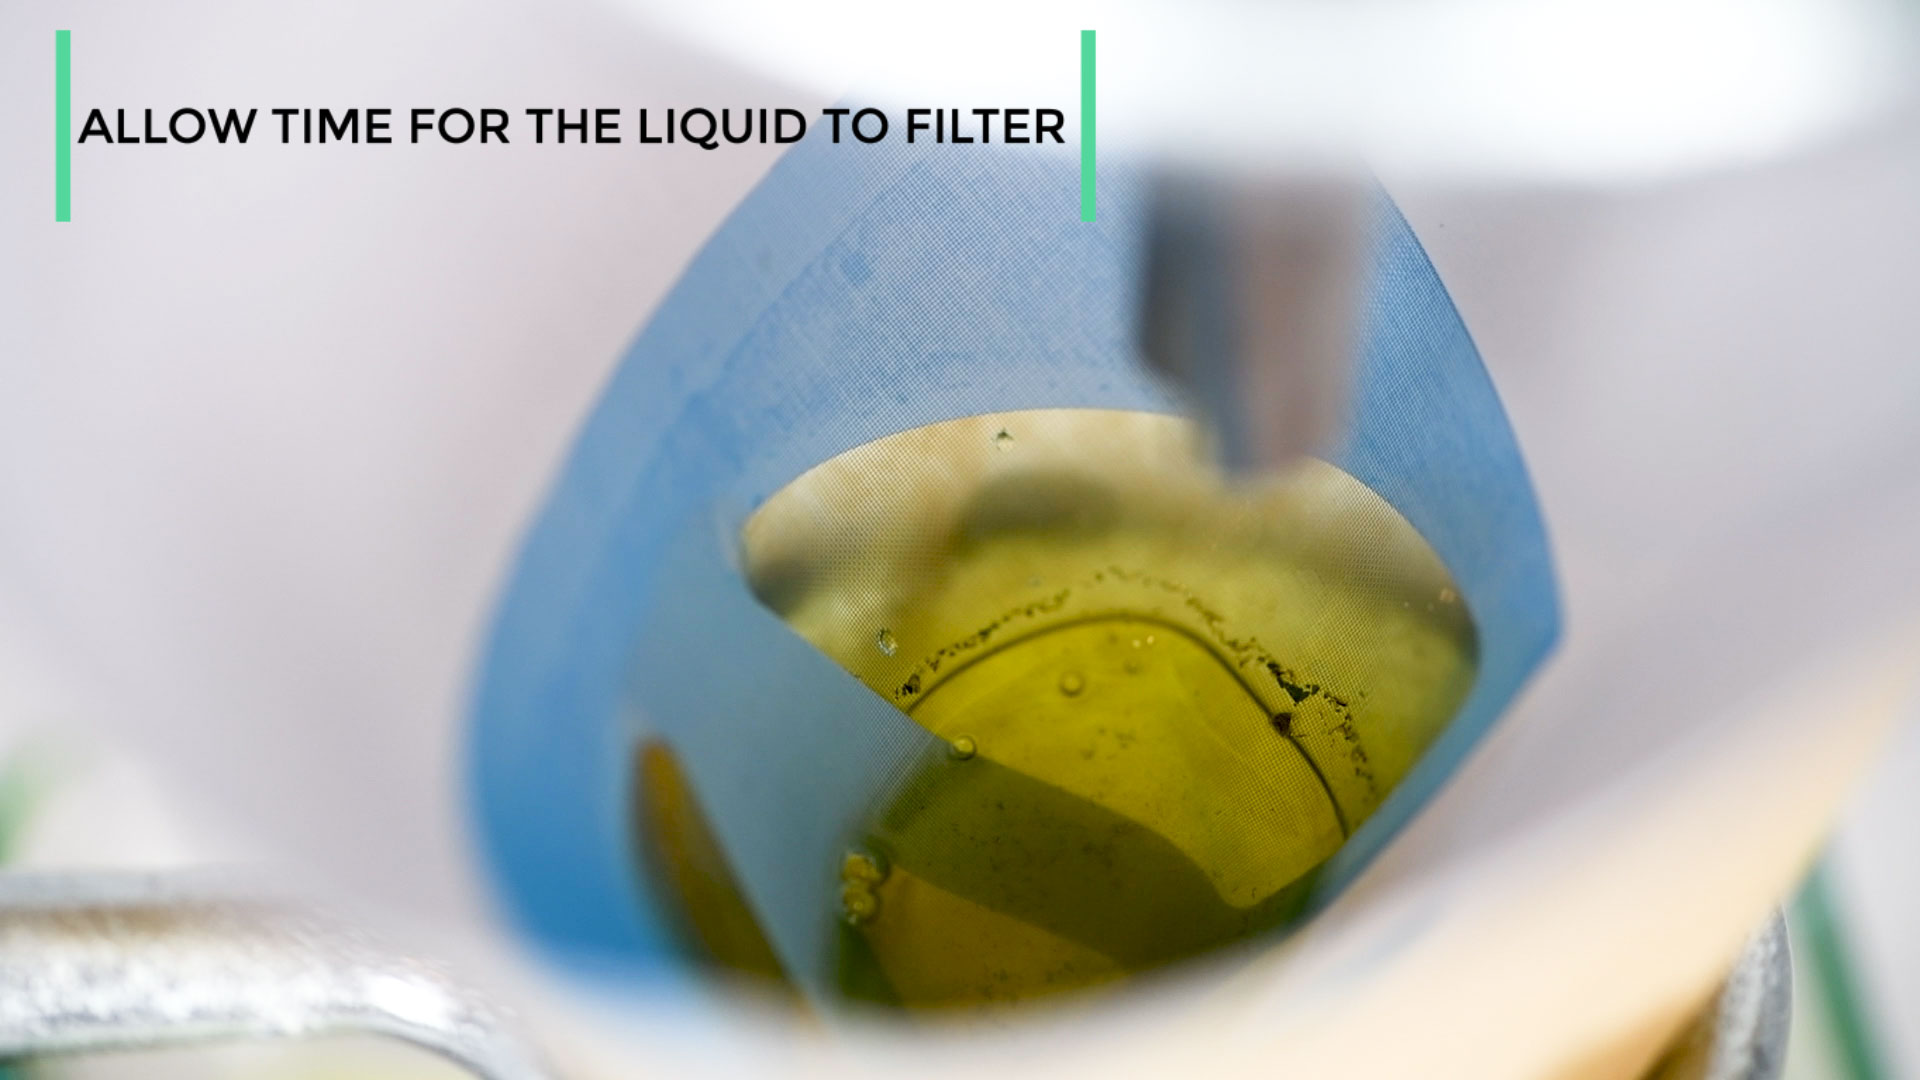
Pour your Alcohol and Herb into the top funnel and allow it to fully drain into the Pyrex dish.
Step 5.)
Put the Pyrex dish next to an open window and allow the alcohol to evaporate. This process usually takes about 24 hours but you can significantly speed it up by putting a fan on it. You will notice the difference in coloration from the 15-second wash to the 5-minute soak. Doing a quick wash will give you a more “stable” extract with a lighter color. If you soak the cannabis for too long you will end up with a sort of black liquid extract usually used in the making of Rick Simpson Oil. Alcohol also dissolves chlorophyll along with any cannabinoids during this process. Chlorophyll is green which is why the extract will obtain a darker color when soaked for extended periods of time.
Step 6.)
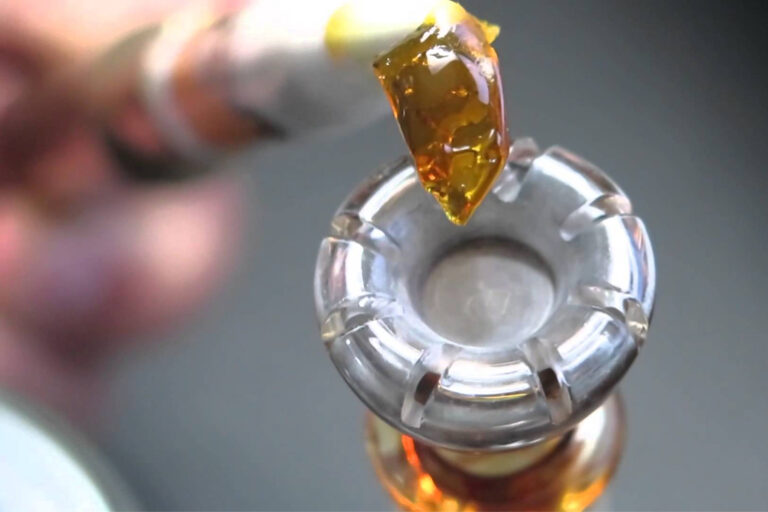
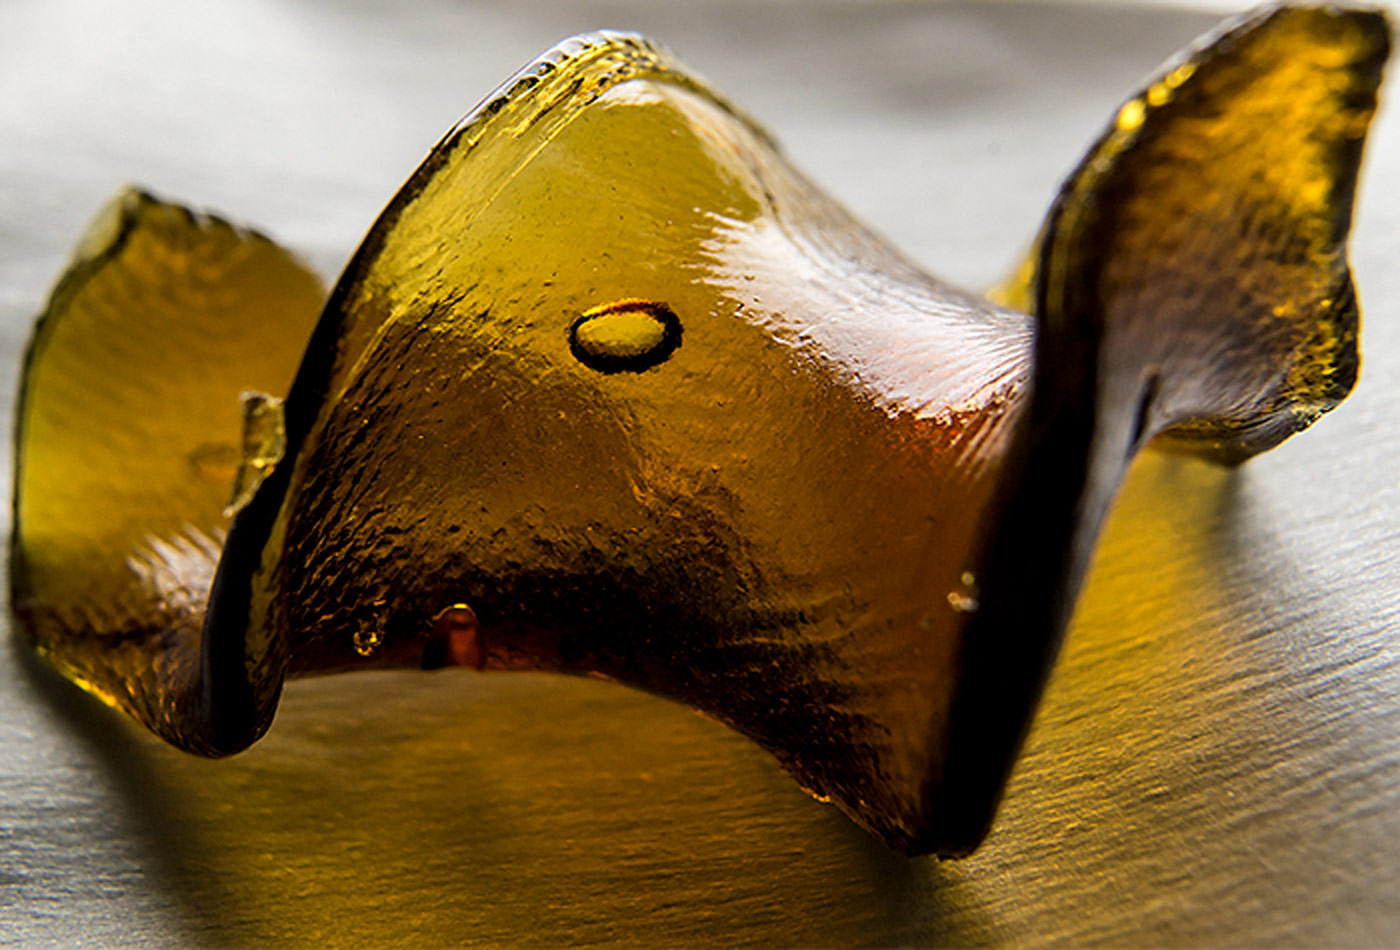
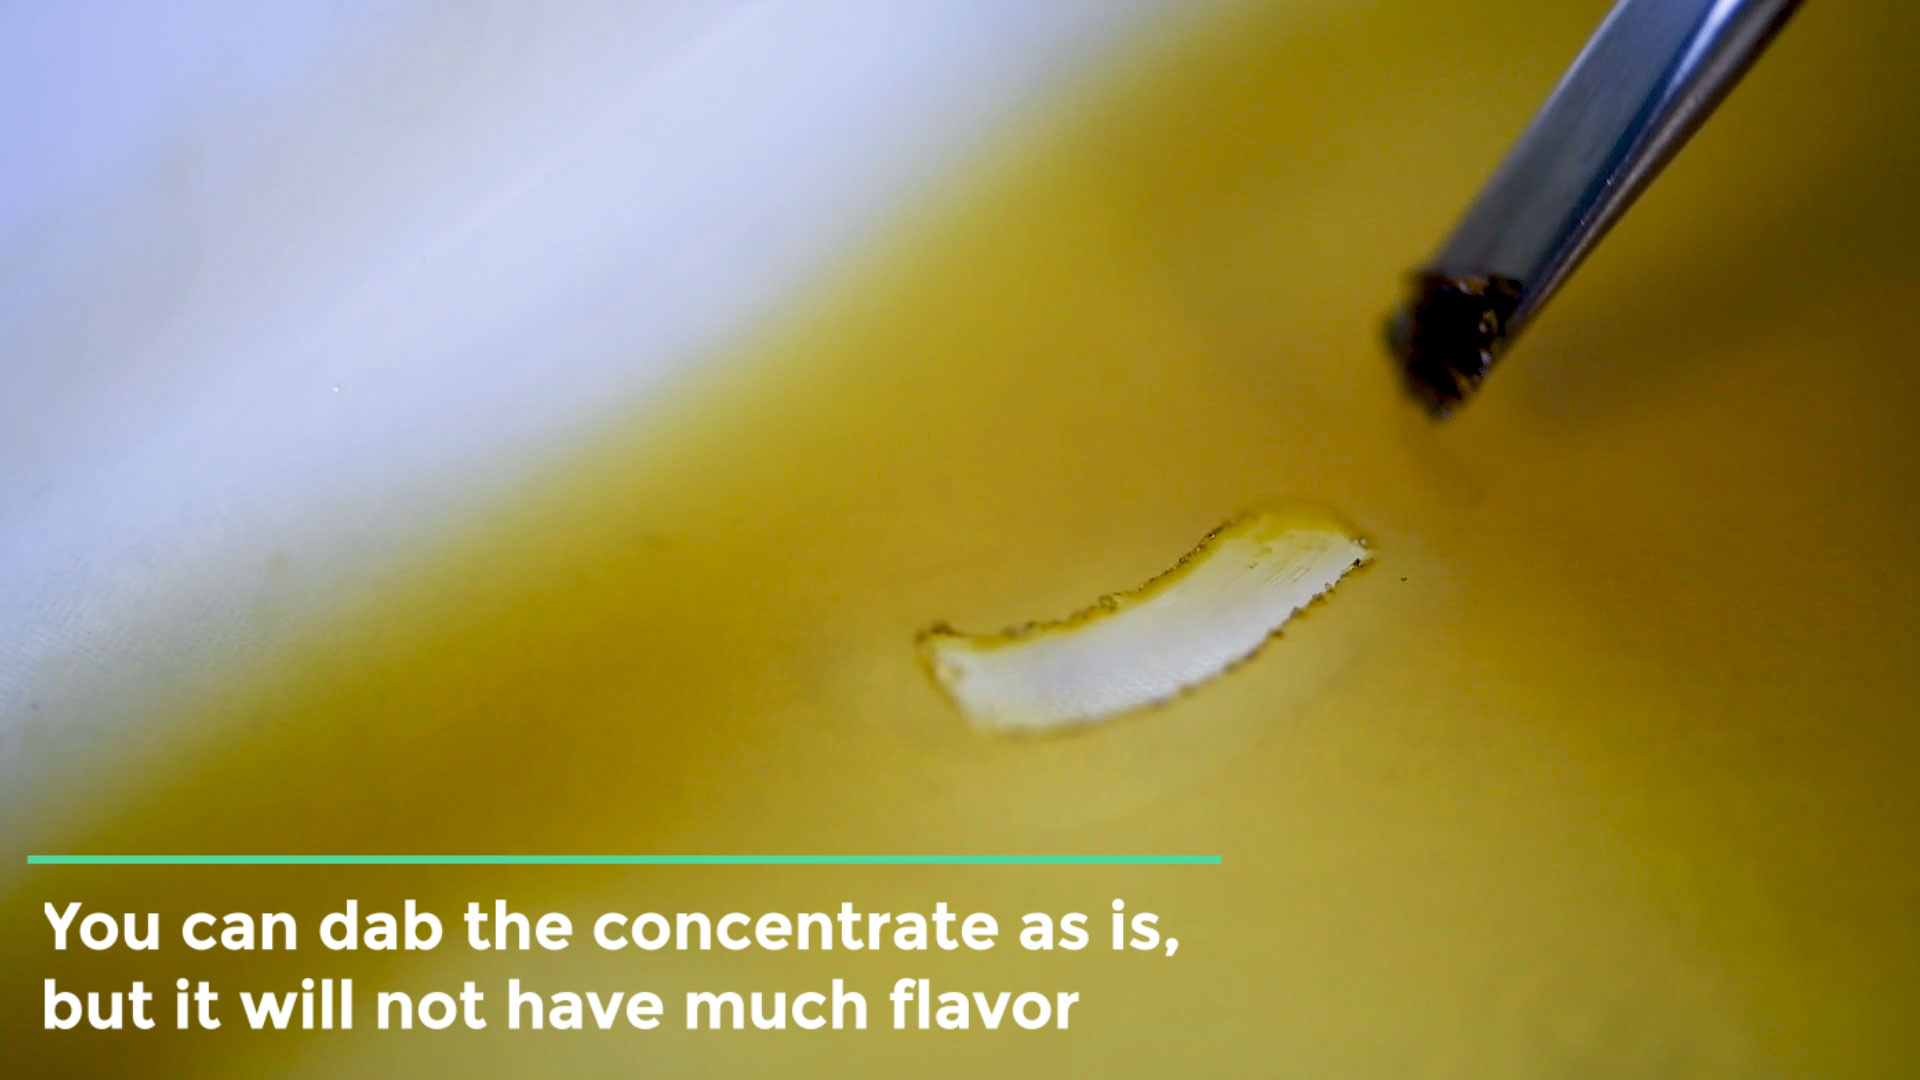
Once the alcohol has evaporated you will be left with a beautiful amber colored extract. At this point, you can actually smoke it as is but it will not have much flavor and it will not have the sought after “glass” shatter look.
Step 7.)
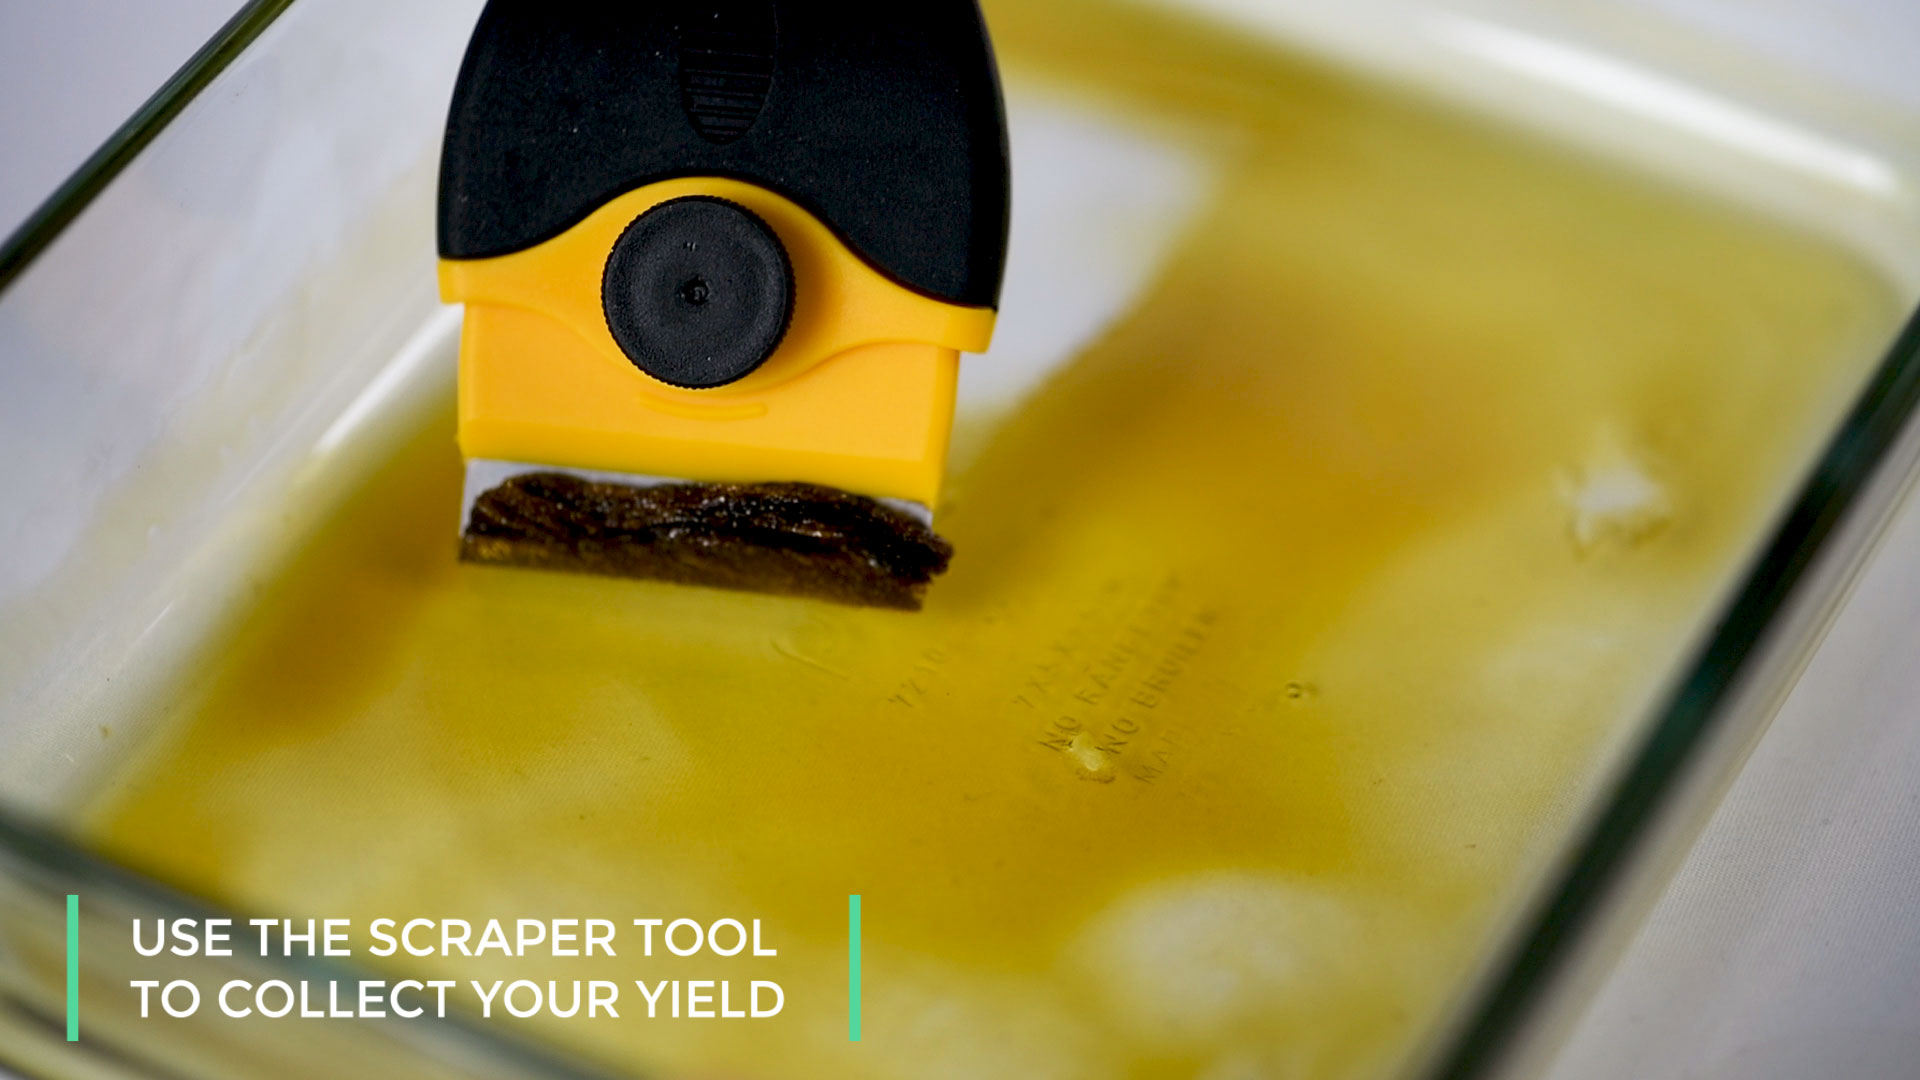
Use your scraper tool to scrape the raw extract from the bottom of the Pyrex dish and transfer it into the Stainless Steel Mixing Ramekin. Be sure to scrape the corners of the Pyrex dish harvesting as much of the dried extract as possible.
Step 8.)
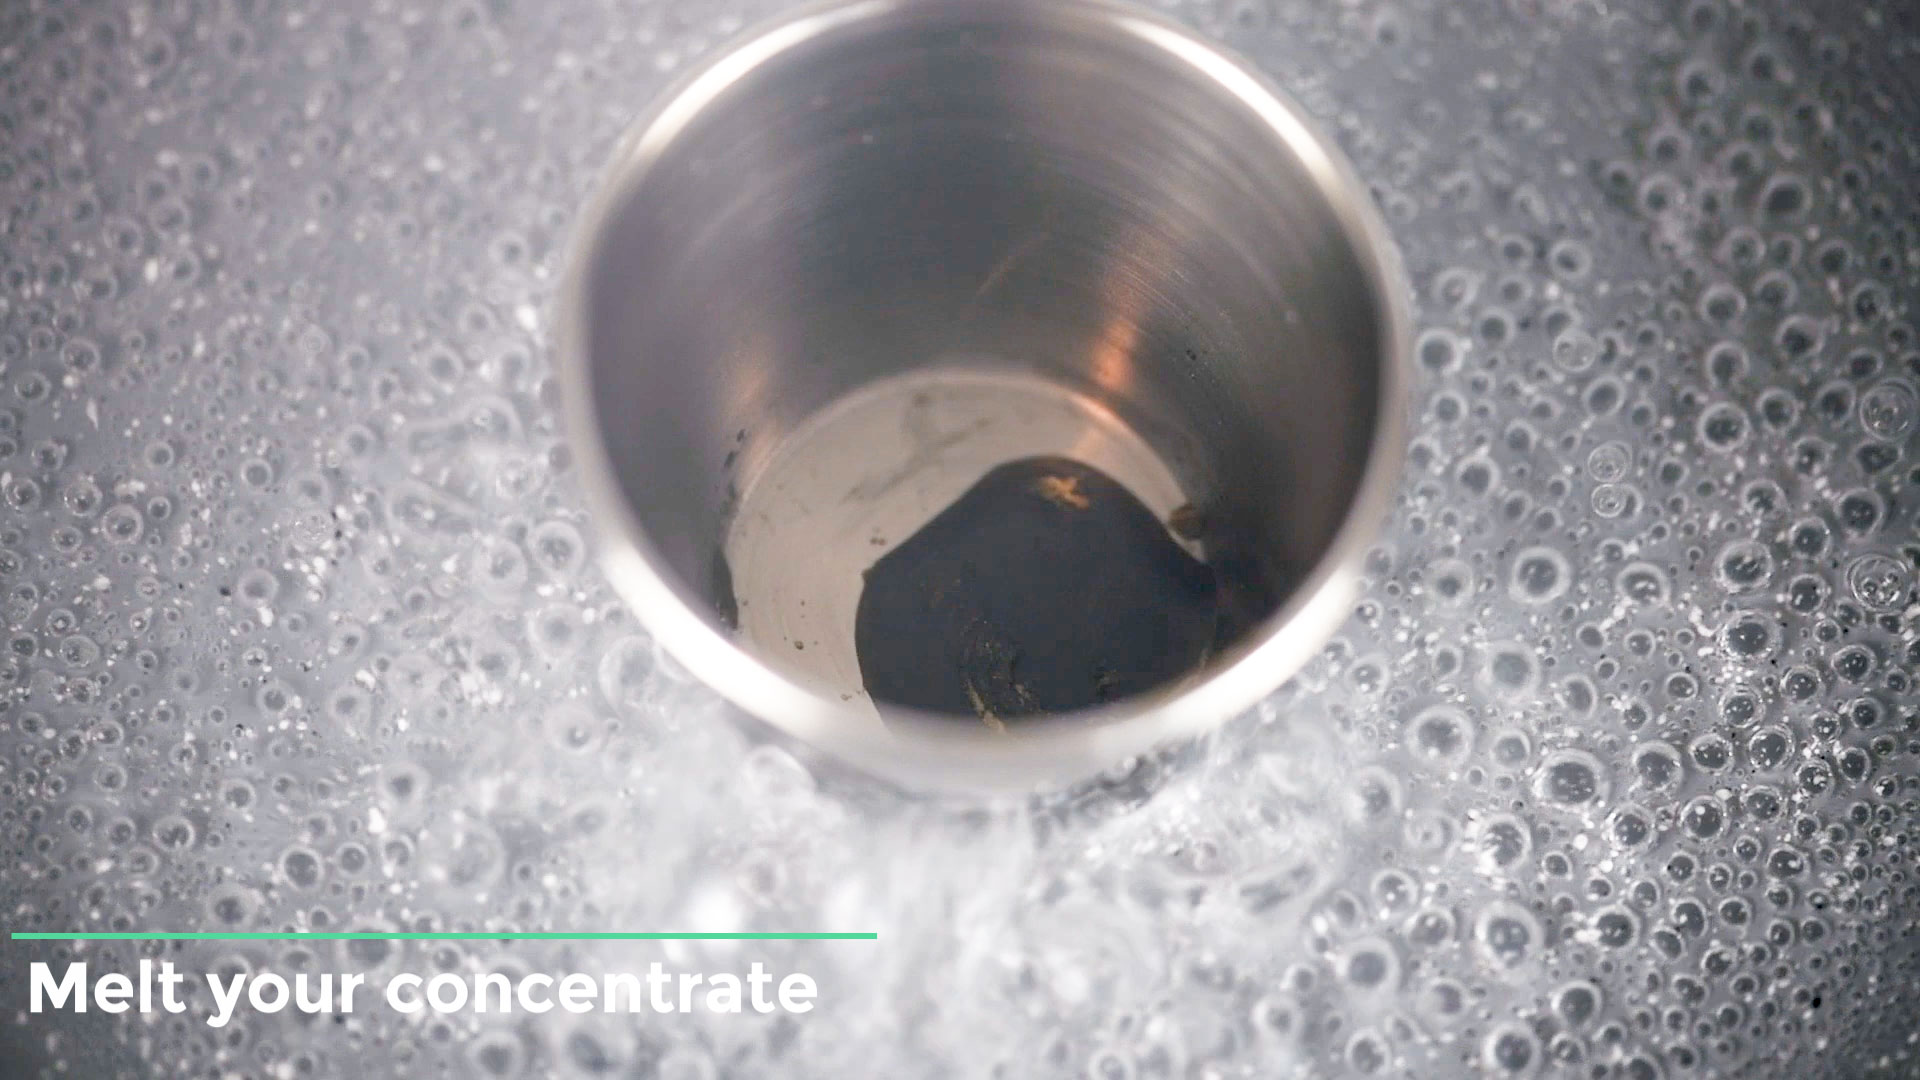
Melt your extract. Start by warming up some water in a shallow pan. You’ll want to make sure you have the water level at about half an inch. If you use too much water the ramekin may float around or even worse, it may tip over allowing water to spill into the dish. If you happen to get water into the ramekin, don’t worry, you’ll just have to let it air dry until the water has evaporated and try it again. Bring the water to a boil and then back it down to a nice and steady gentle soft boil. We don’t want the boiling water to be too aggressive when you place the ramekin in the pan because you may splash water into the ramekin itself.
Step 9.)
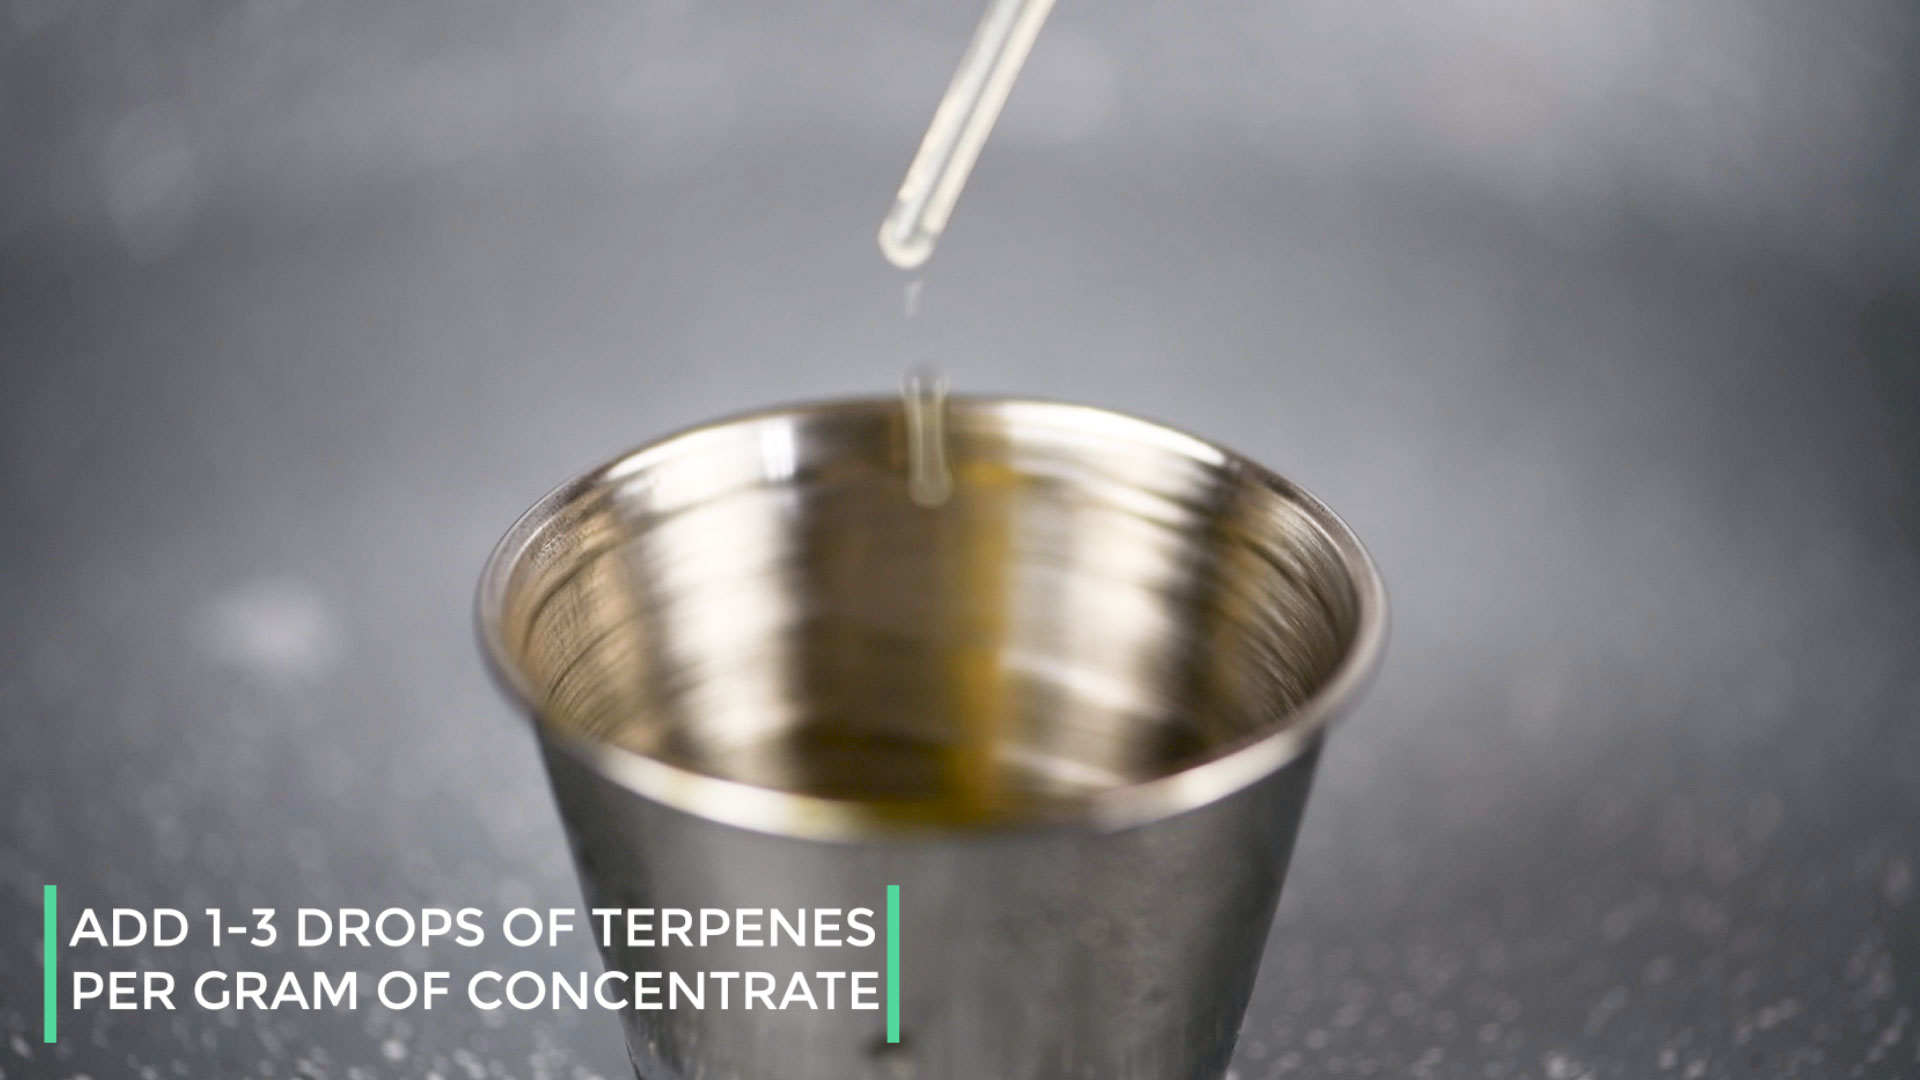
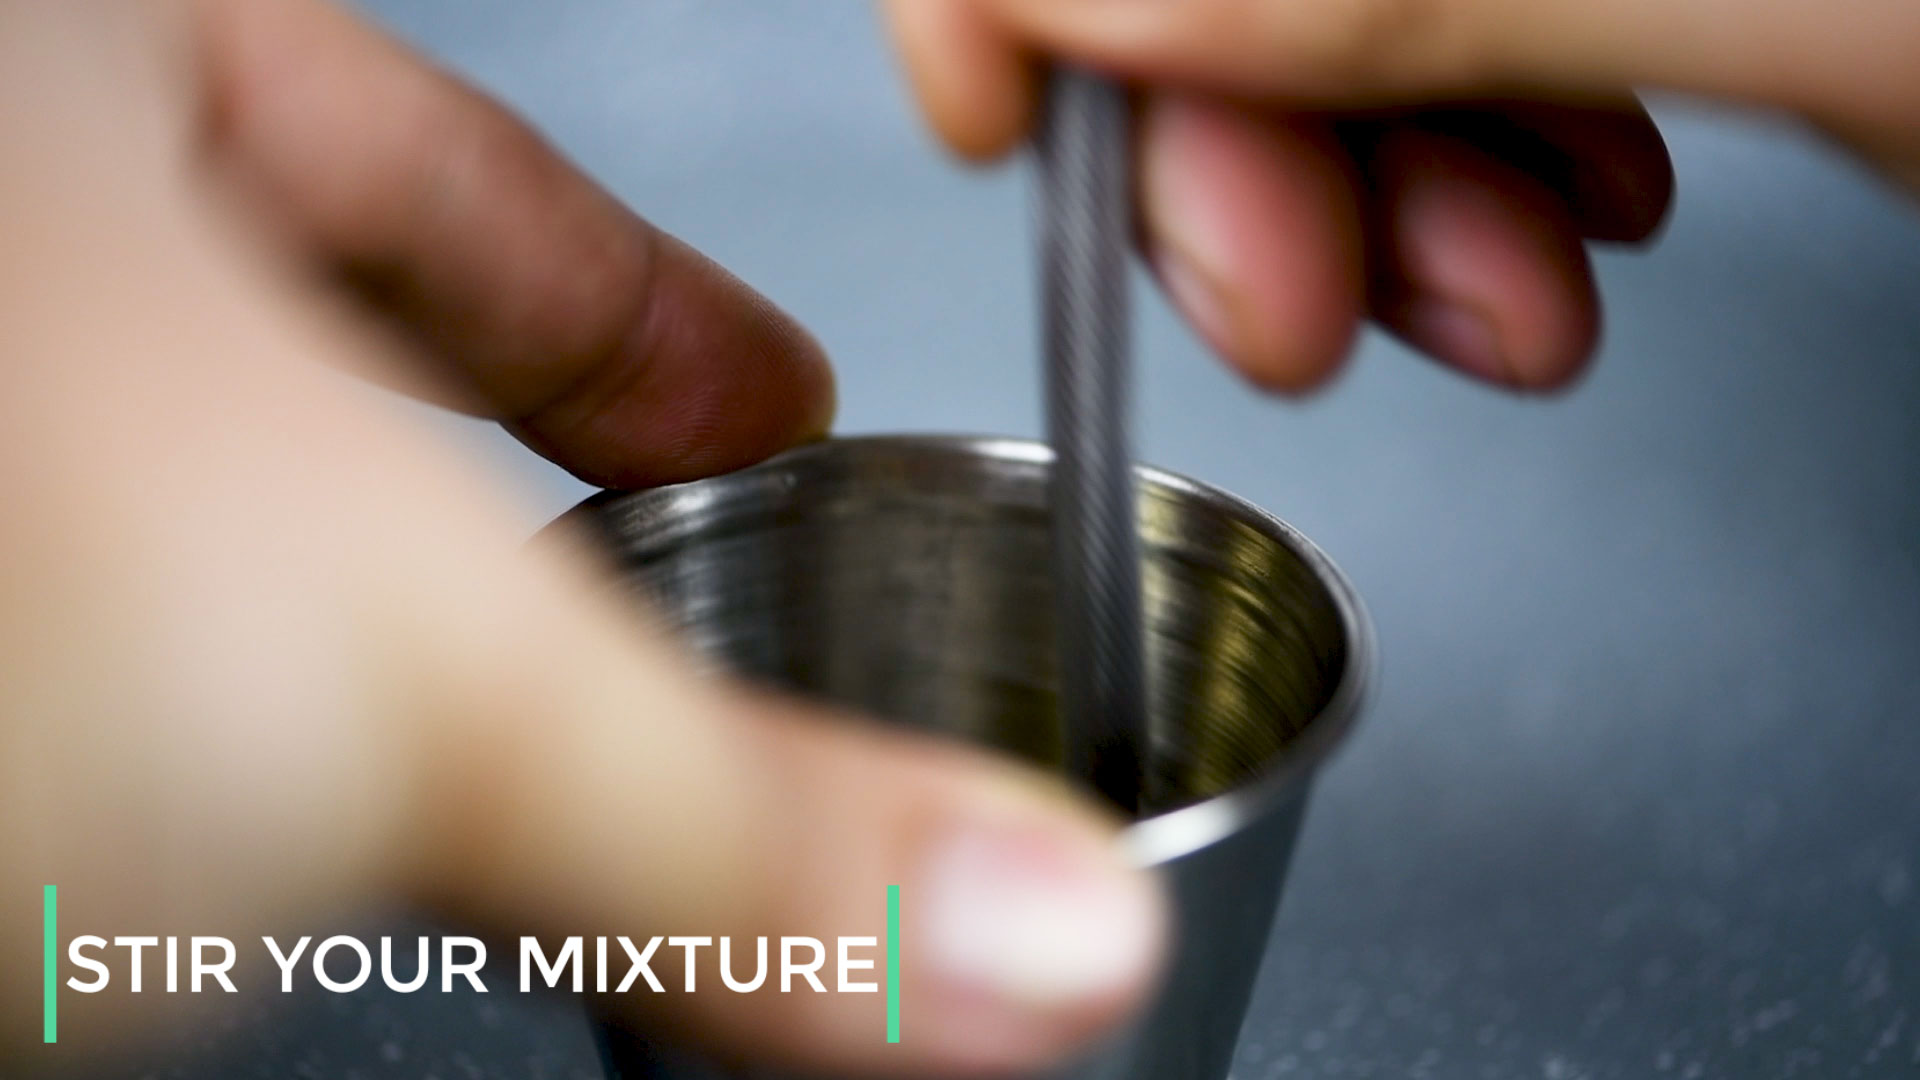
Once your extract is melted add 1-3 drops of terpenes per 1 gram of concentrate to re-infuse real cannabis flavor or another flavor back into your shatter. Mix for 30 seconds to ensure the terpenes are evenly disbursed. After you test it out you can decide if you want to add more or fewer terpenes into your formula the next time you make it.
Step 10.)
After your terpenes and oil are fully mixed, while it’s still a hot liquid, carefully pour it into the center of the parchment paper.
Step 11.)
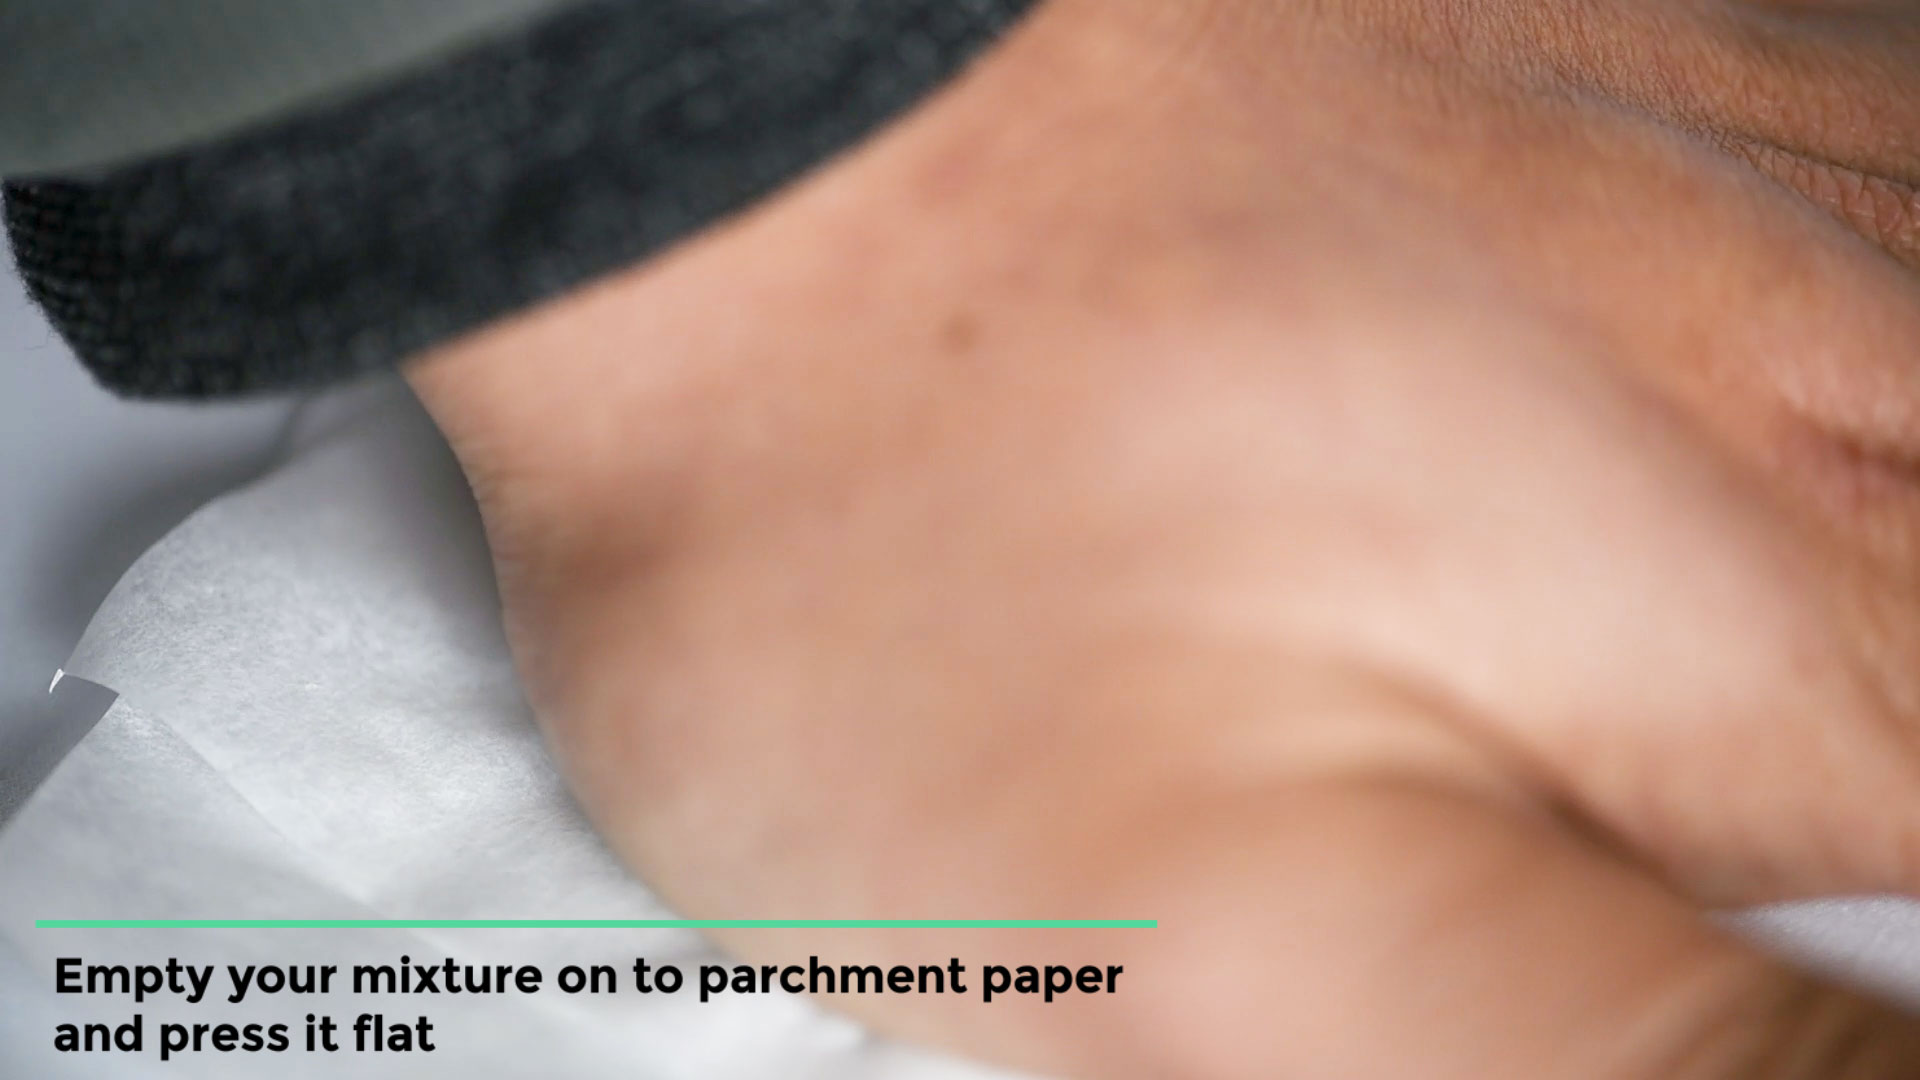
Fold the parchment paper over the extract and press it with your hand to make it as thin as possible. The thinner you can press it the better your final product will look.
Step 12.)
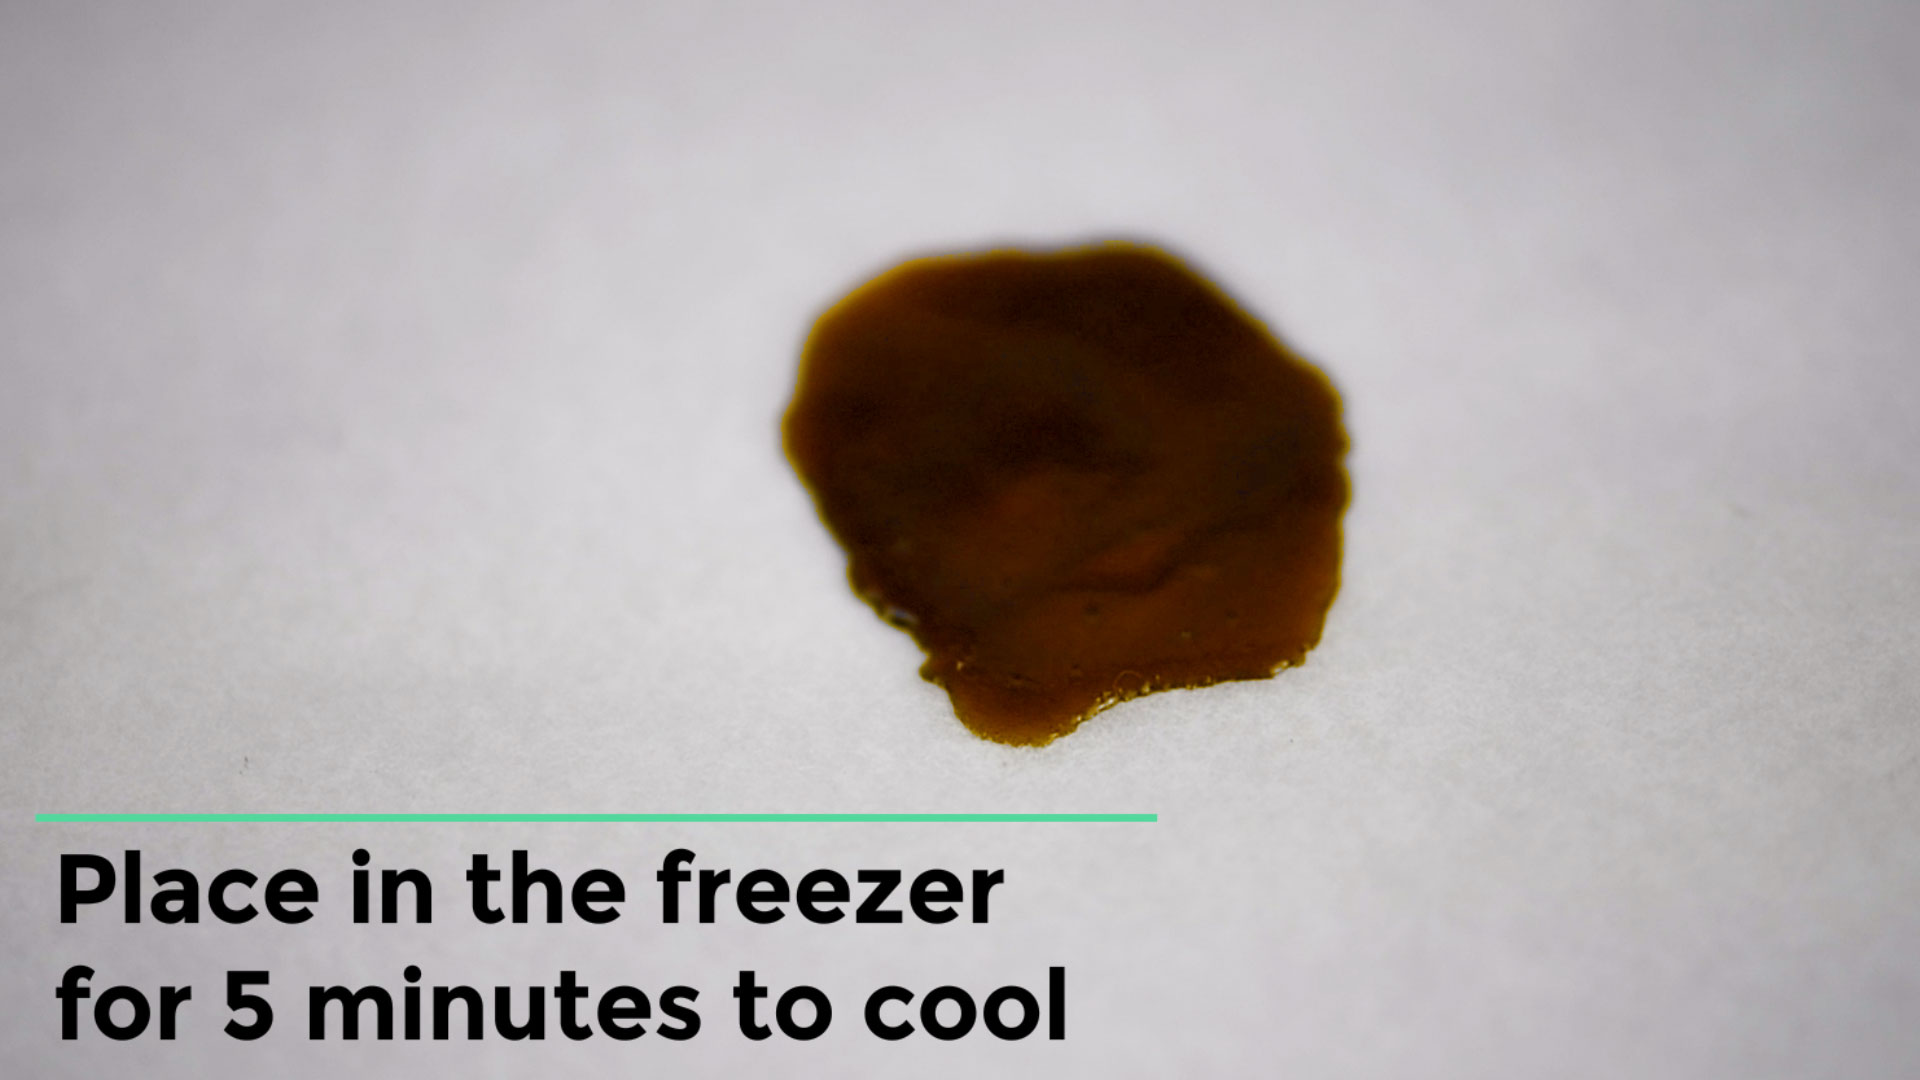
Place your shatter in the freezer for 5-10 minutes to cool. Once it has cooled you can remove it and unfold your parchment paper
